The Carleton Tabletop Gaming Club, in partnership with Sword and Board in downtown Toronto who graciously allowed us to use their space over 2 days put on our first Napoleonic event.
The event was called Lasalle at Leipzig both because it involves a game event using the Lasalle rules for the Leipzig campaign, but also, importantly, because this scenario is ahistorical, including an alternate history where Lasalle himself survived and the British stalled and withdrew from Spain. This allowed us both to include British lists, Bavarians loyal to Napoleon, and write a more open range of possibilities for the results of the campaign.
The scenario assumes that Napoleon's primary chance to win the battle was historically lost when Murat’s charge failed to fully rout the Coalition units, south of Leipzig on the first day. It seemed to us that the most suitable use of the Lasalle ruleset was to represent this action alone, rather than attempting to cover the wider events of the 3 days. The first 2 rounds would determine the success of Napoleon's initial gambit, and the last round would me a more scripted scenario to tie up the narrative.
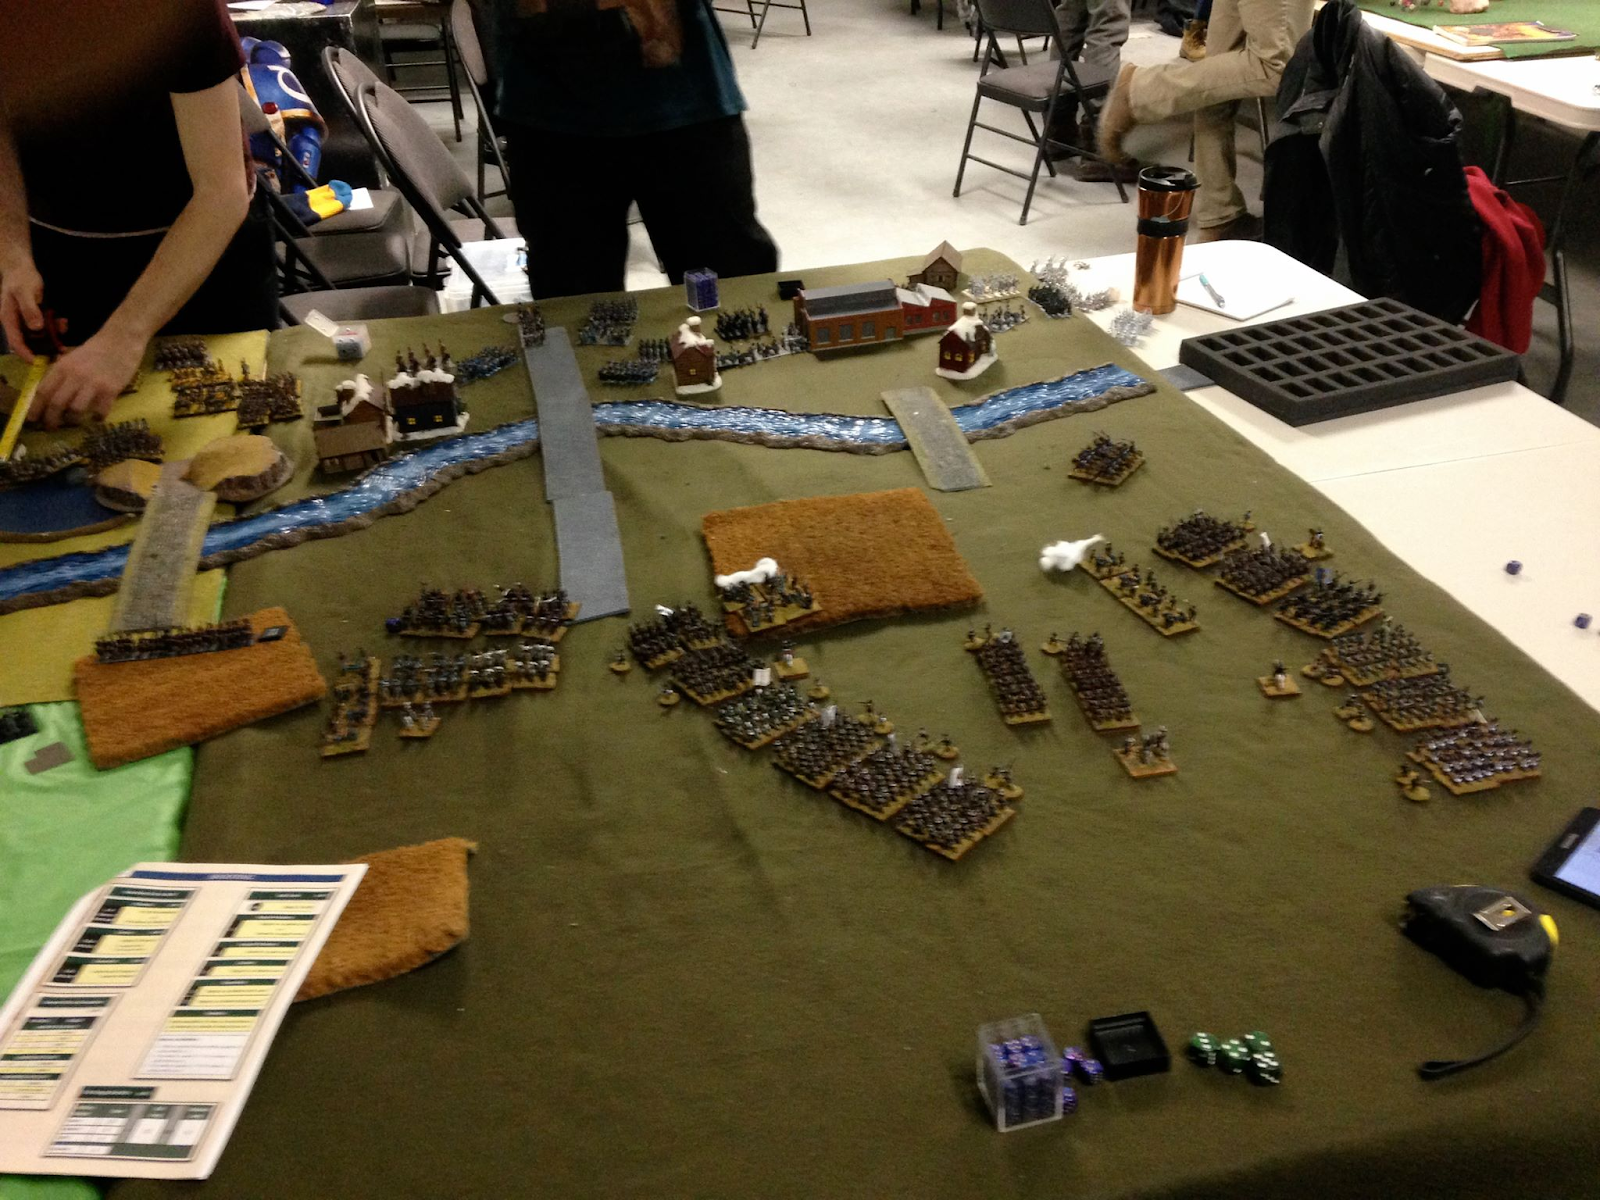
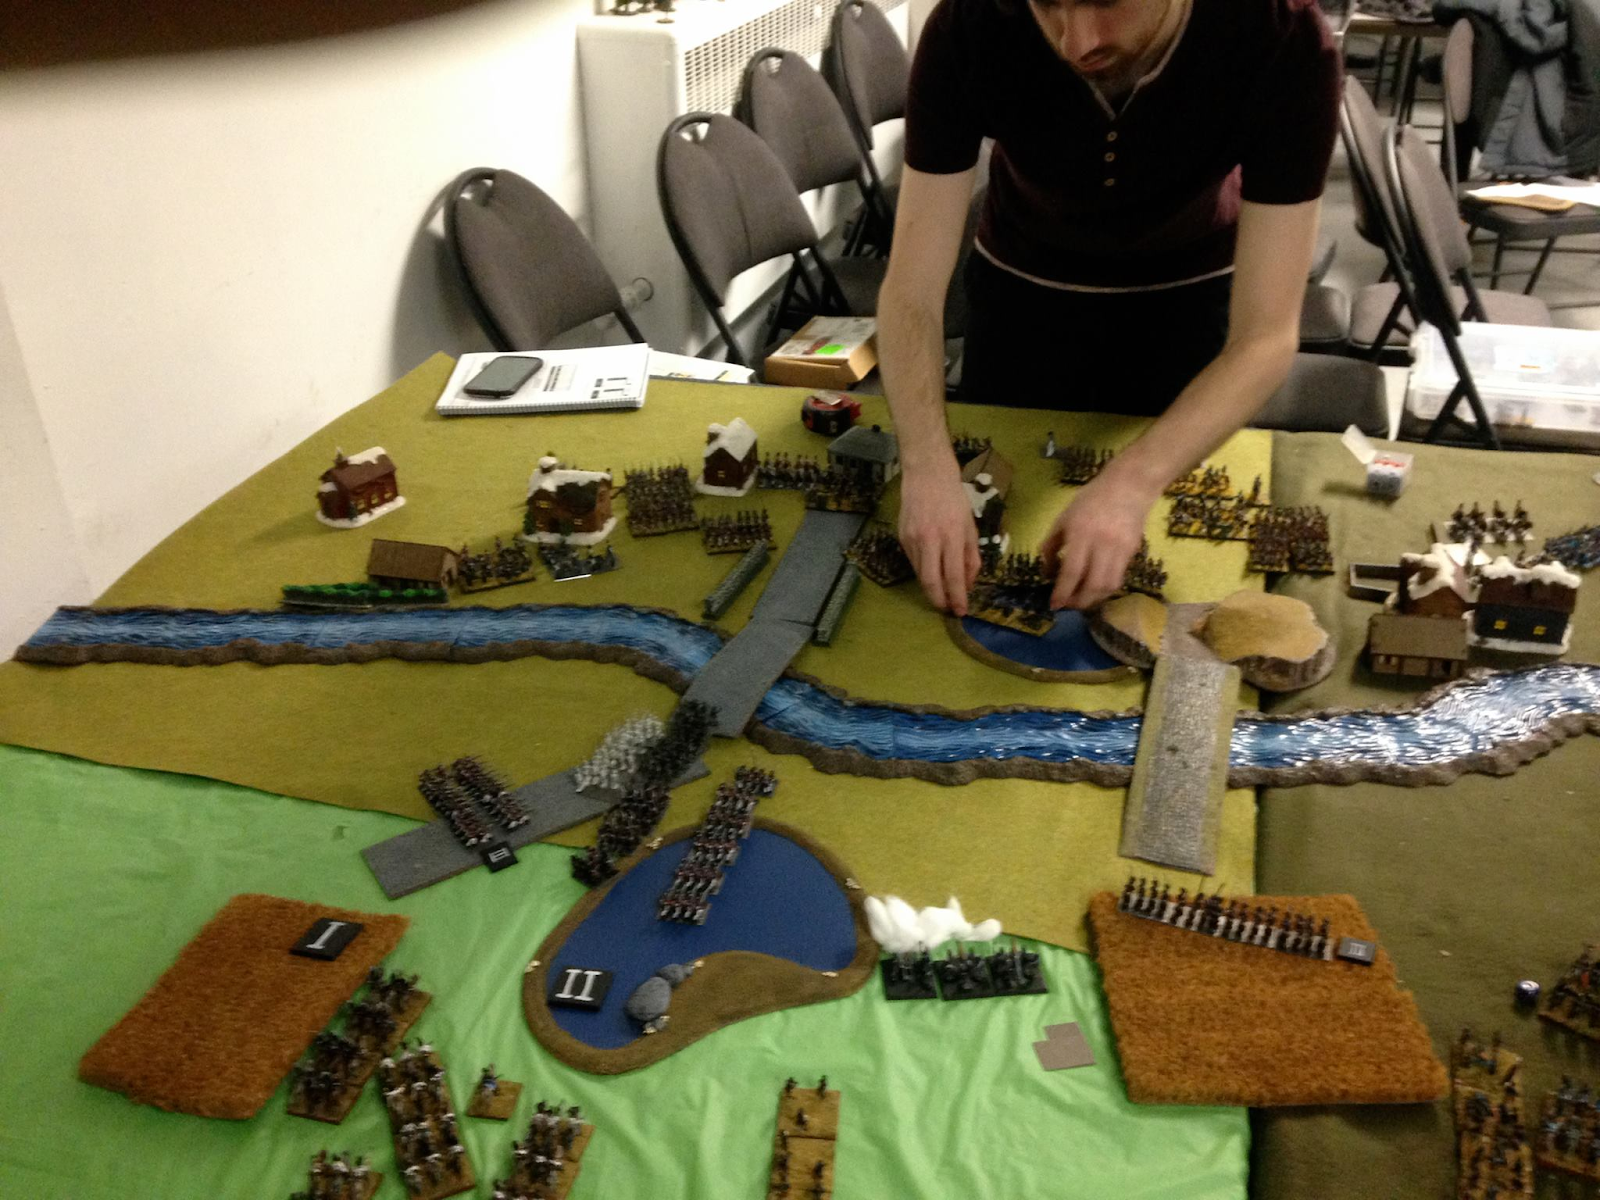
The event was formatted with 3 rounds: a 2v2 round, a 1v1 round, and two special mega battles for the last round. Each battle scenario was created by a semi-procedurally generated method where each sector of the battle (West-Center-East) was assigned several potential battlefield options from the Lasalle premade map options based on the historical leipzig deployment maps.
The side with the most Major Victories each round would be declared the victor, and each combination of eventualities per round yielded different battle scenarios in the following round. Some of these sequences gave fairly historical results, and some did not. In addition each player was given an intro packet describing the ways to get victory points and a nation-based secondary objective, the Russians, Prussians, and French forces being rewarded for seeking more glory on the battlefield, and Imperial minors, Austrians, and British forces being encouraged to preserve troops (and ultimately the power balance in Europe).
Without further ado:
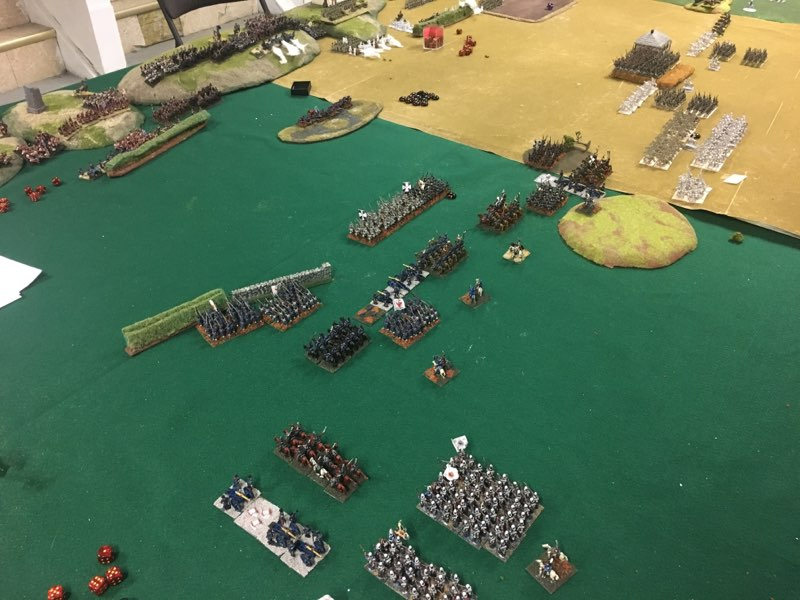
Round 1
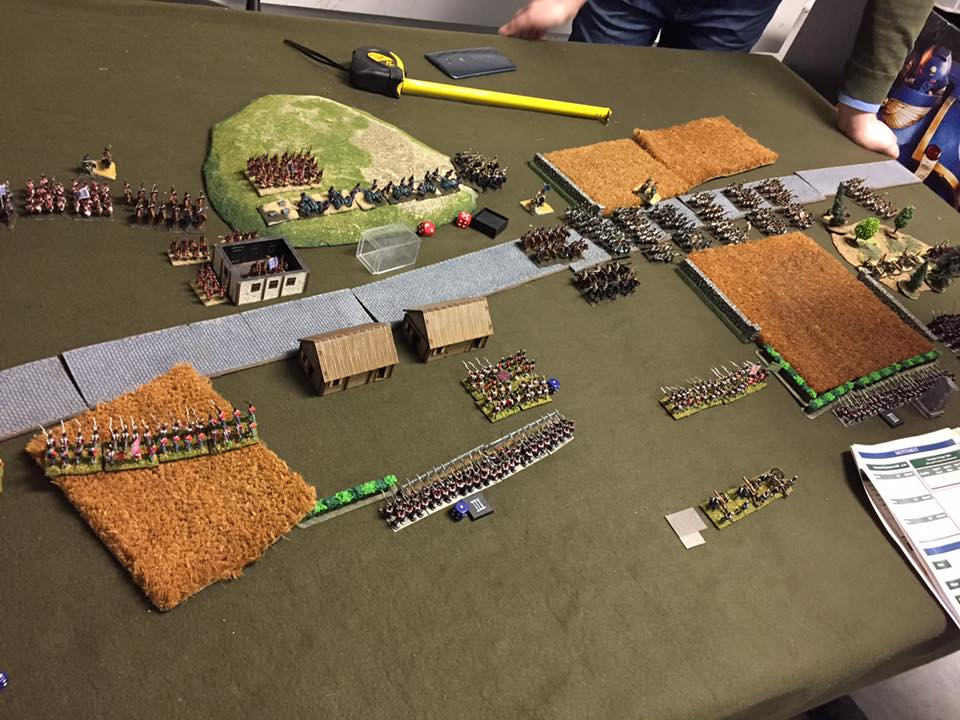
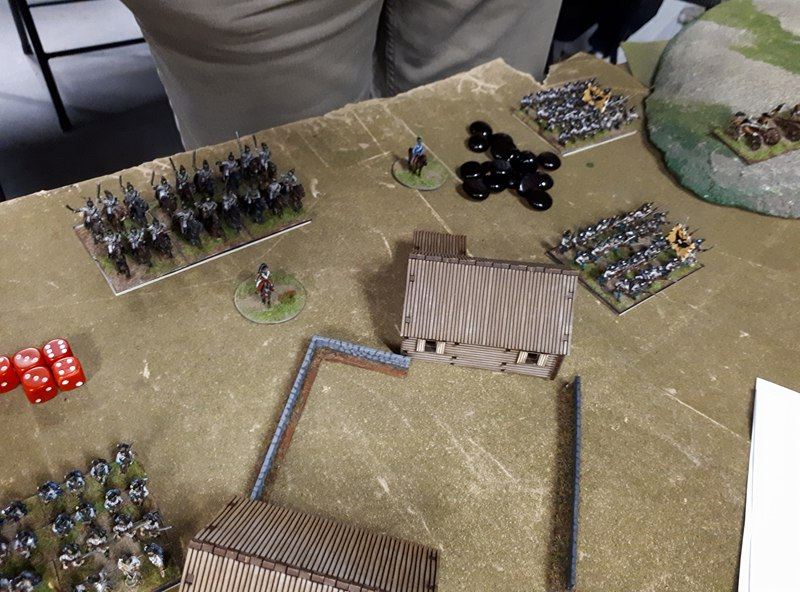
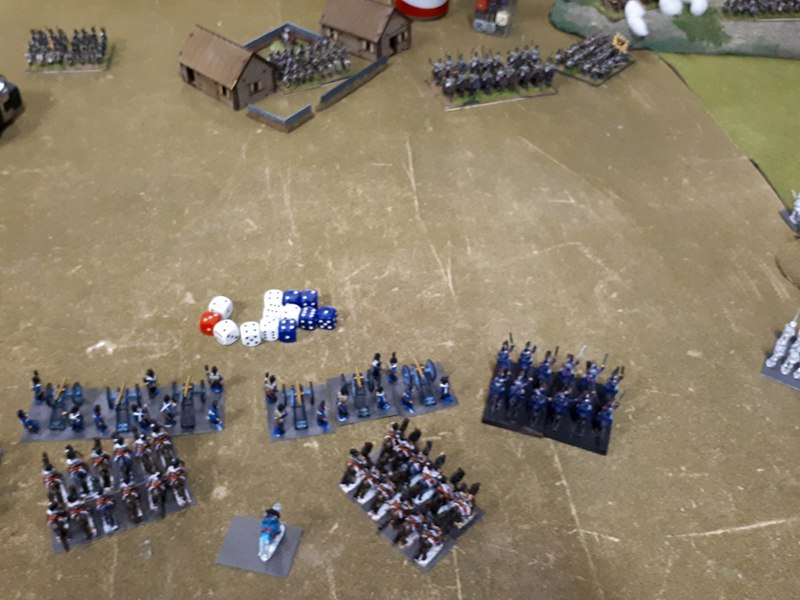
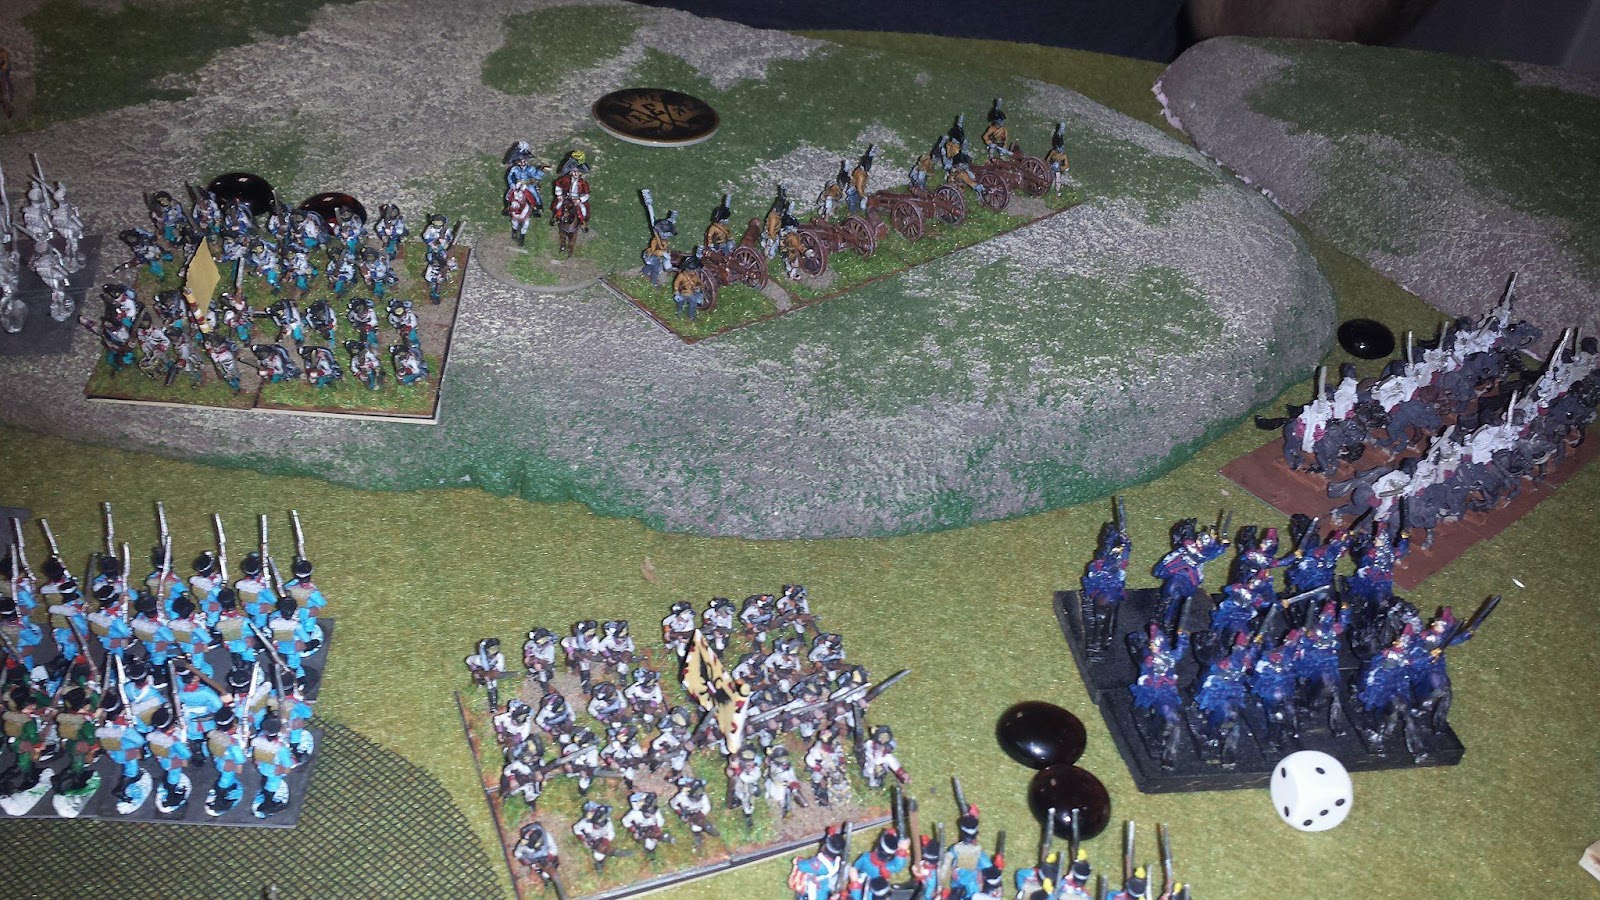
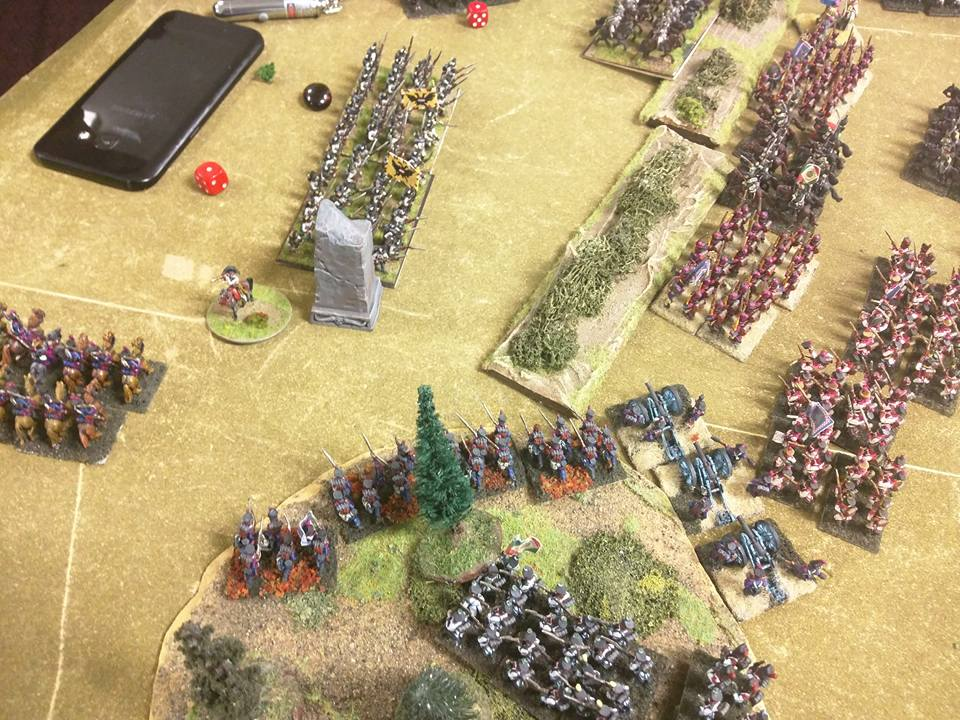
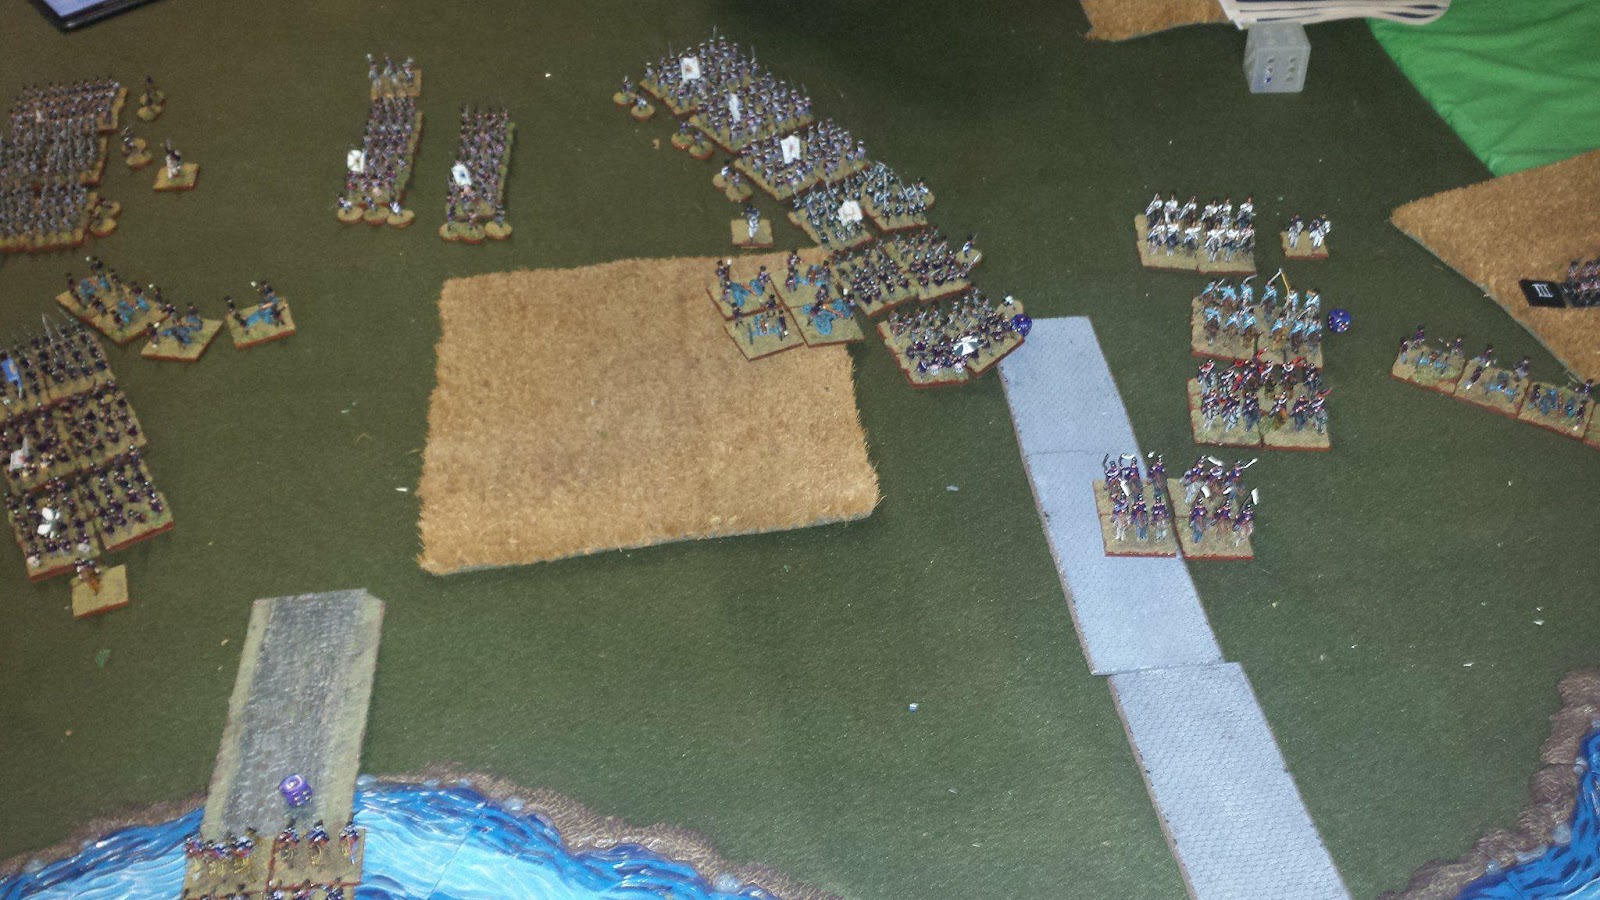
West
Advance on Crostewitz: Italian Infantry and French Infantry attacking vs British Guard and Prussian Guard = Major Imperial Victory
Though the Prussian Guard were able to bring the French Infantry along a stream, the Italian Infantry were able to break through and completely shatter the British Guards after a pitched battle in the farmer’s fields outside of Crosewitz. Neapolitan Irregulars were able to prevent the Prussians from sending relief to the British before they were forced to retire due to a complete breakthrough by the Neapolitan Cavalry.
The Italian Advance is rapid and concentrated towards the flank while the Neapolitan Brigades hold the center.
British Guards being enveloped on the left while dragoons rush to relieve them
Though some Italian conscripts are unable to respond quickly enough to the British Cavalry’s counterattack, the remains of the Guard ultimately break upon the Italian line.

Though their numbers are great, the French conscript infantry is bogged down long enough for relief from the Prussian Guard to arrive, turning them back.
Prussian Guard completely pin french forces along the stream and marshes.

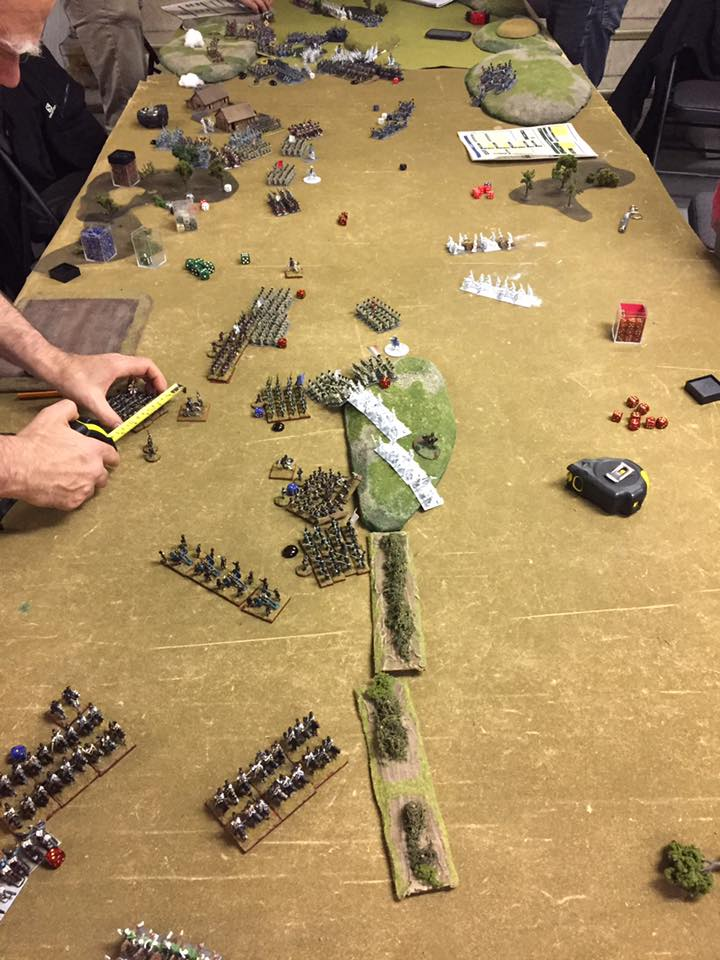
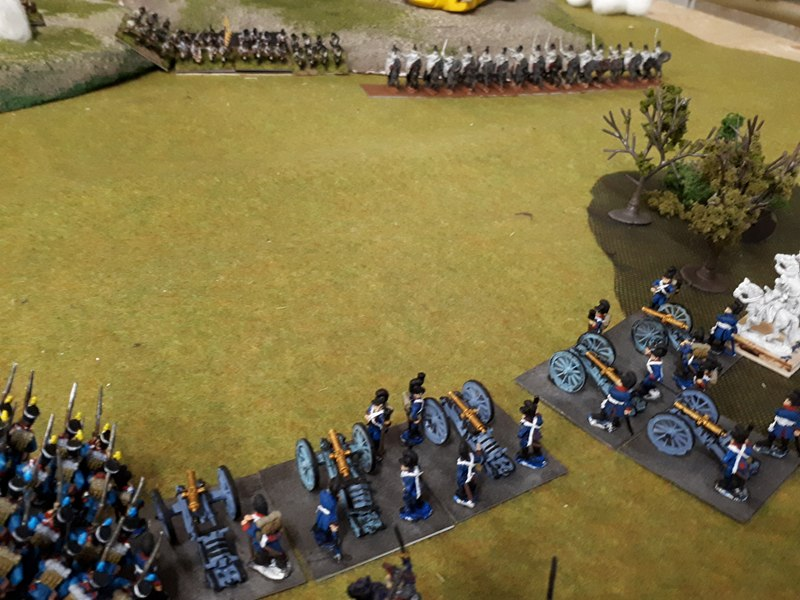
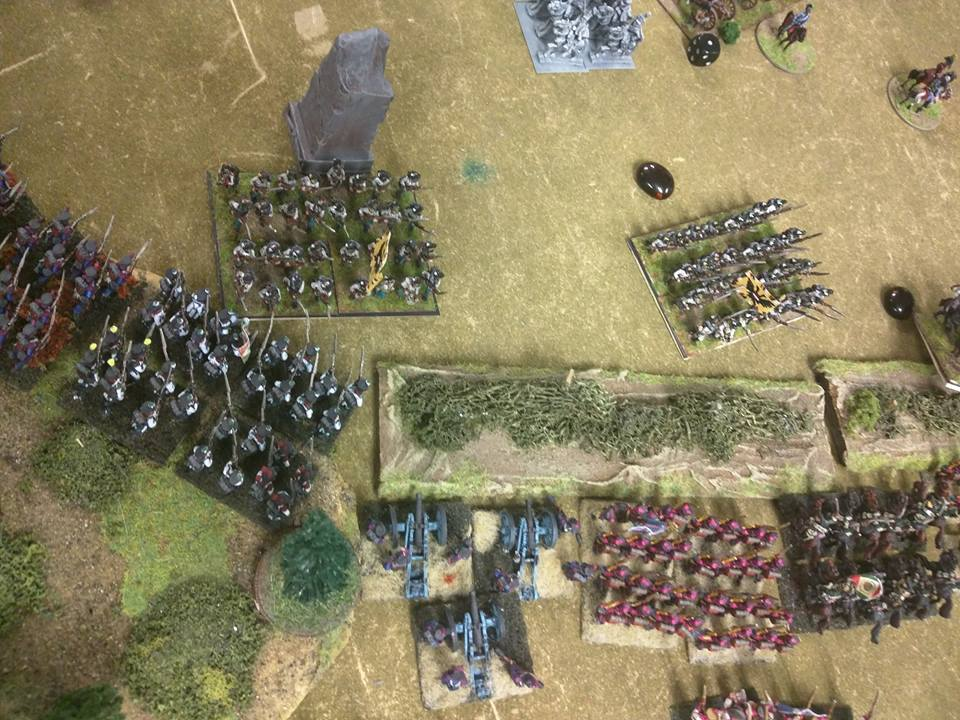
Center
Advance from Gallow Heights: Bavarian Infantry and French Infantry attacking vs Austrian Reserve and Prussian Infantry = Major Imperial Victory
The French impetuously advanced into and subsequently broke the Prussians. The Bavarians traded with the Austrian Artillery and advanced into the Grenadiers, forcing them to withdraw in the face of cannon and ordered musket fire.

The Bavarian Cavalry flanks around the forest on the far side of the Austrian Line, whereas the Bavarian Infantry advances behind the cover of a small hill
The Austrian Cavalry and infantry set up around a small village, ready to claim it once the enemy comes near

The Austrian Grenadiers’ deployment to the Prussians’ Left Flank


The Prussians advance into the French guns in an attempt to seize the initiative
Subsequent Prussian charges against the French on the hill, with Bavarian assaults on the Right Flank
Austrian Artillery Fires on the advancing Bavarians

The Bavarian units begin their advance over the hill into Glory
Austrian reserve redeployment from the small town to their other flank
Bavarian Cavalry Advances on the Town
Bavarian Horse Artillery begins their attack on the main Austrian hill Positions

View of the Bavarian Advances as the main Assault begins
A unit of Austrian Grenadiers charges down the hill into the tide of Advancing Bavarians to delay while the Artillery fire Canister.

The Austrian Cuirassiers’ Last Charge, broken up by Artillery placed on the adjacent Hill.
Bavarian Guard Grenadiers move into the forest to support their nearby Landwehr.
Valiant Charge of the Bavarian Cavalry to take the Austrian Guns.
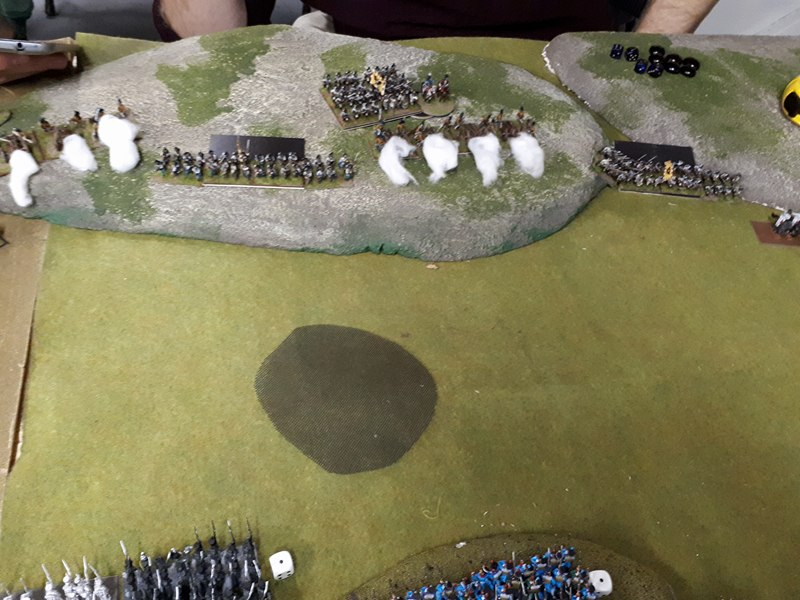
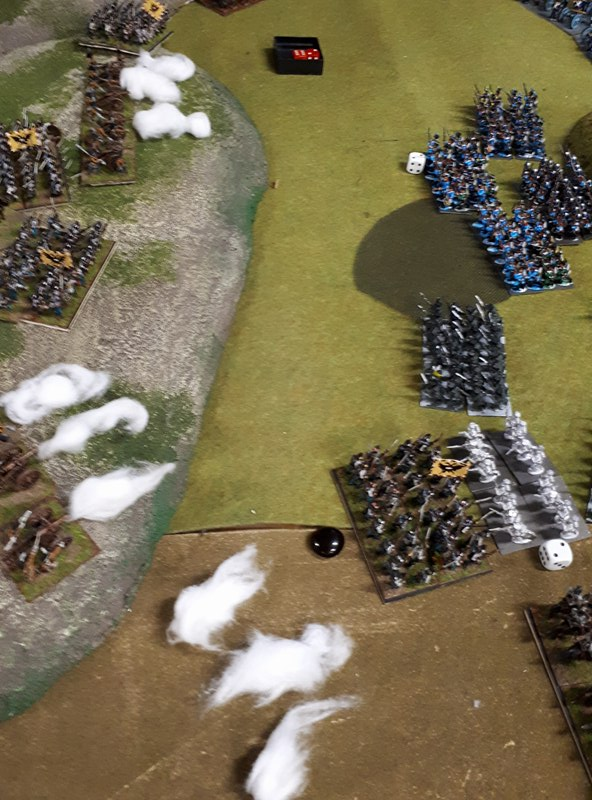
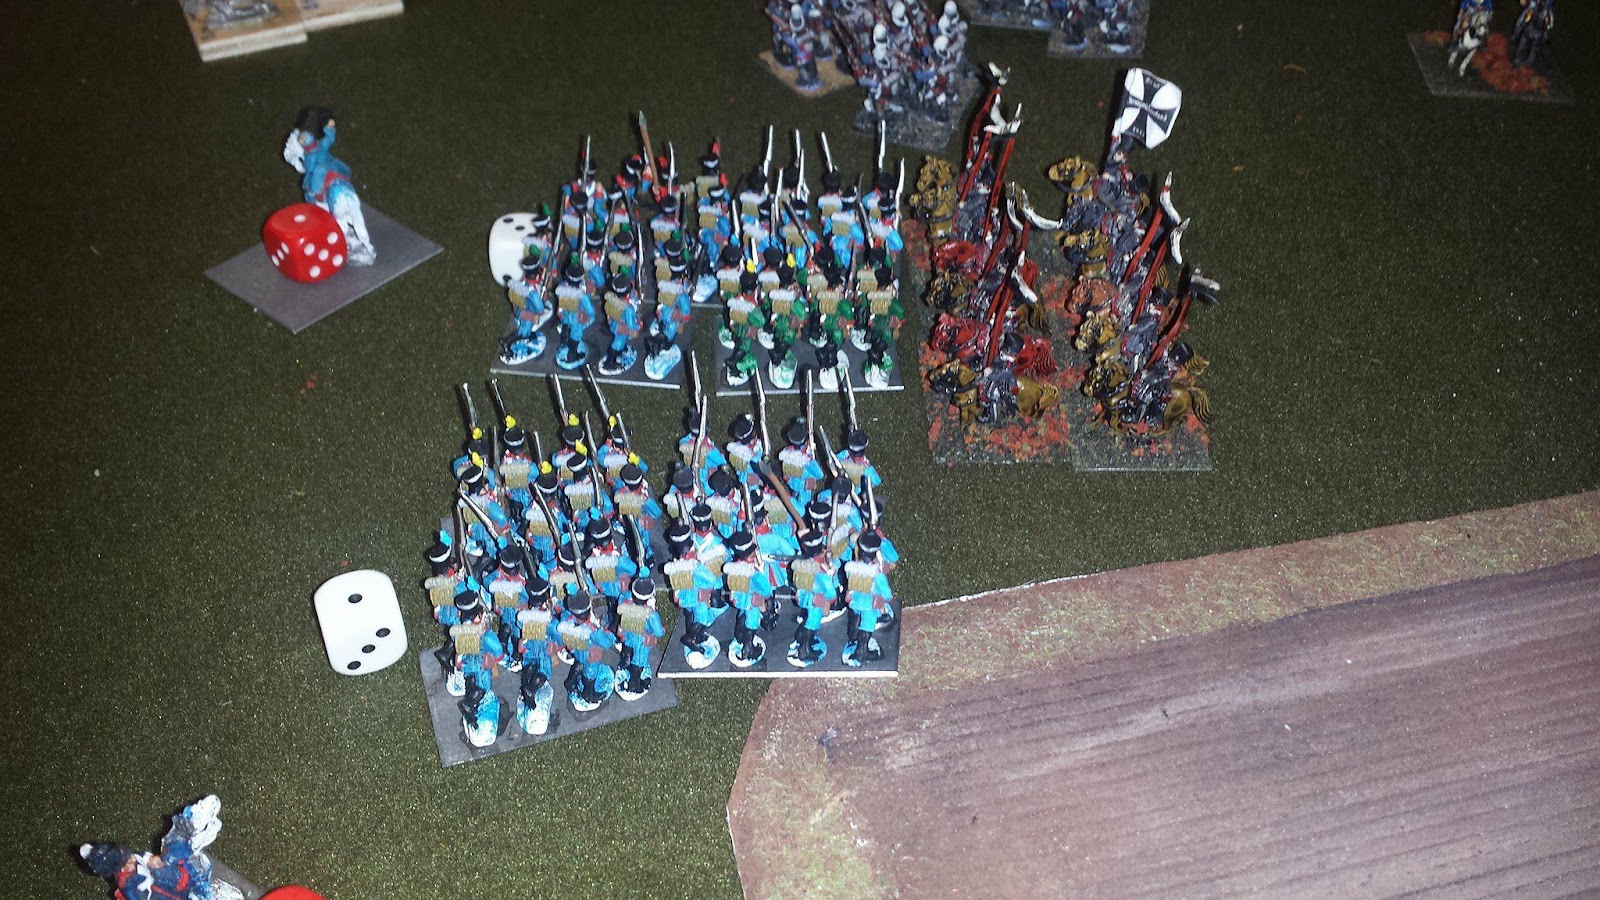
East
Counterattack from Gross Posna: French Guard and French Infantry defending vs Russian Guard and Russian Infantry = Major Coalition Victory
Russians advanced against the french, a combined assault of the guard and grenadiers of the line drove the french from their positions. Russian light cavalry pursued the fleeing French. The other fronts having collapsed, the Russians were forced to quit the field.

Russian infantry assemble to support the attack of the guard.
Russian guard make their attack on the Imperial position supported by grenadiers of the line. The venerable Pavlosk grenadiers of the guard lead the charge.
View from a Russian artillery positions overlooking the heights.
A fierce cannonade stymies french attempts to shift their line eastward. A brief cavalry action cleared the remaining resistance on the westernmost flank.

Round 1 ended with 2 Major Imperial Victories and 1 Major Coalition Victory. Since we had agreed that the round victor would be whoever had more Major Victories, this round went to Napoleon.
Napoleon’s assault had turned out exactly as hoped. Though the Russian Guard had offered some resistance, they were forced to withdraw as Imperial troops broke through all around them. Stunned by Napoleon’s Gambit, the Tsar ordered a full counterattack to retake the initiative.
Napoleon’s assault had turned out exactly as hoped. Though the Russian Guard had offered some resistance, they were forced to withdraw as Imperial troops broke through all around them. Stunned by Napoleon’s Gambit, the Tsar ordered a full counterattack to retake the initiative.
Round 2
West
- Secure Croberg: Italian Infantry attacking Austrian Reserve = Major Imperial Victory
Gaps in the Austrian line and a rapid advance of the Neapolitan cavalry quickly result in the collapse of the center ahead of the Italian Infantry. Neapolitan Infantry are able to turn the hedge in the center against the Austrians while the 1st and 7th Italian regiments successfully turn the Austrian flank. Austrian Hussars arrived to find their lines completely overrun, preventing proper deployment. It is not long before the Austrians are in full rout.


Initial Breakthrough by the Neapolitan Cavalry in the Austrian Center.


Austrian Hussars arrived to find their lines completely overrun, frustrating their deployment to the field.
Center
- Western Advance on Golden Gossa: French Infantry Attacking British Guards = Major Imperial Victory
- Eastern Advance on Golden Gossa: Bavarian Infantry Attacking Prussian Guards = Major Imperial Victory
The Bavarian Infantry, seeking to outflank the Prussians through a marsh, arrived onto the field to find a pond in its stead. Bavarian Artillery suffered terribly while duelling the Prussian cannon and driving off valiant cavalry charges while the infantry advanced through a nearby village. On the Bavarian left flank, the Cavalry cut the Prussian army in half, and the Bavarians were able to secure their objective just as the Prussian Guard arrived. The Bavarian Cavalry were able to harass the Prussian guard in their retreat, and the remainder of the Prussians were routed.
Prussian Delaying Charge into Bavarian Infantry
East
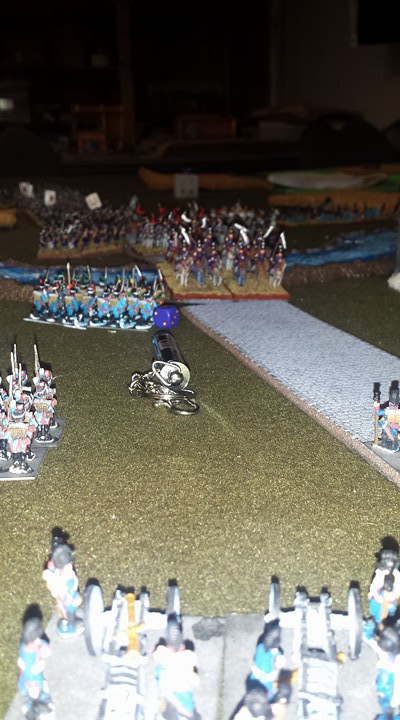
- Advance on Stormthal through the Marsh: French Guard attacking Russian Guard = Draw
The French guard attacked the Russian guard piecemeal. The Russian grand battery stymied the main attack of the French old guard. With no conclusive result, both sides retired.
- Counterattack on Gross Posna: French Infantry defending vs Prussian Infantry = Draw
A cavalry skirmish drew in the Prussian infantry, advancing and claiming Gross Posna. Having advanced well ahead of their support, the troops holding the town were driven out by the french at bayonet point. Night fell before the Prussians could organize a counterattack and the french were too exhausted to capitalize on their gains, a bloody but inconclusive fight.
Round 2 ended with 3 Draws and 2 Major Imperial Victories, and so the round once again went to Napoleon.
The Tsar’s refusal to withdraw from his position on the heights had cost the coalition dearly. Though his position had not been overrun due to there stubborn defense by his guard, his allies had suffered calamity. Already in danger before being ordered to counterattack, the Prussian and Austrian Contingents had suffered defeat after defeat and were now fleeing the field. During the rout, Murat’s cavalry had captured the Austrian Emperor, and the Prussian King had been overrun along with his guard while defending the center from the Bavarian advance.
Chaos now reigned, and the remaining German generals spoke of suing for peace. The Tsar gathered what forces remained to attempt a desperate counterattack to retake the heights, while the reserve forces across the river attempted to outflank the heights by making the crossing at Croberg. If either attack failed, the coalition position would be desperate.
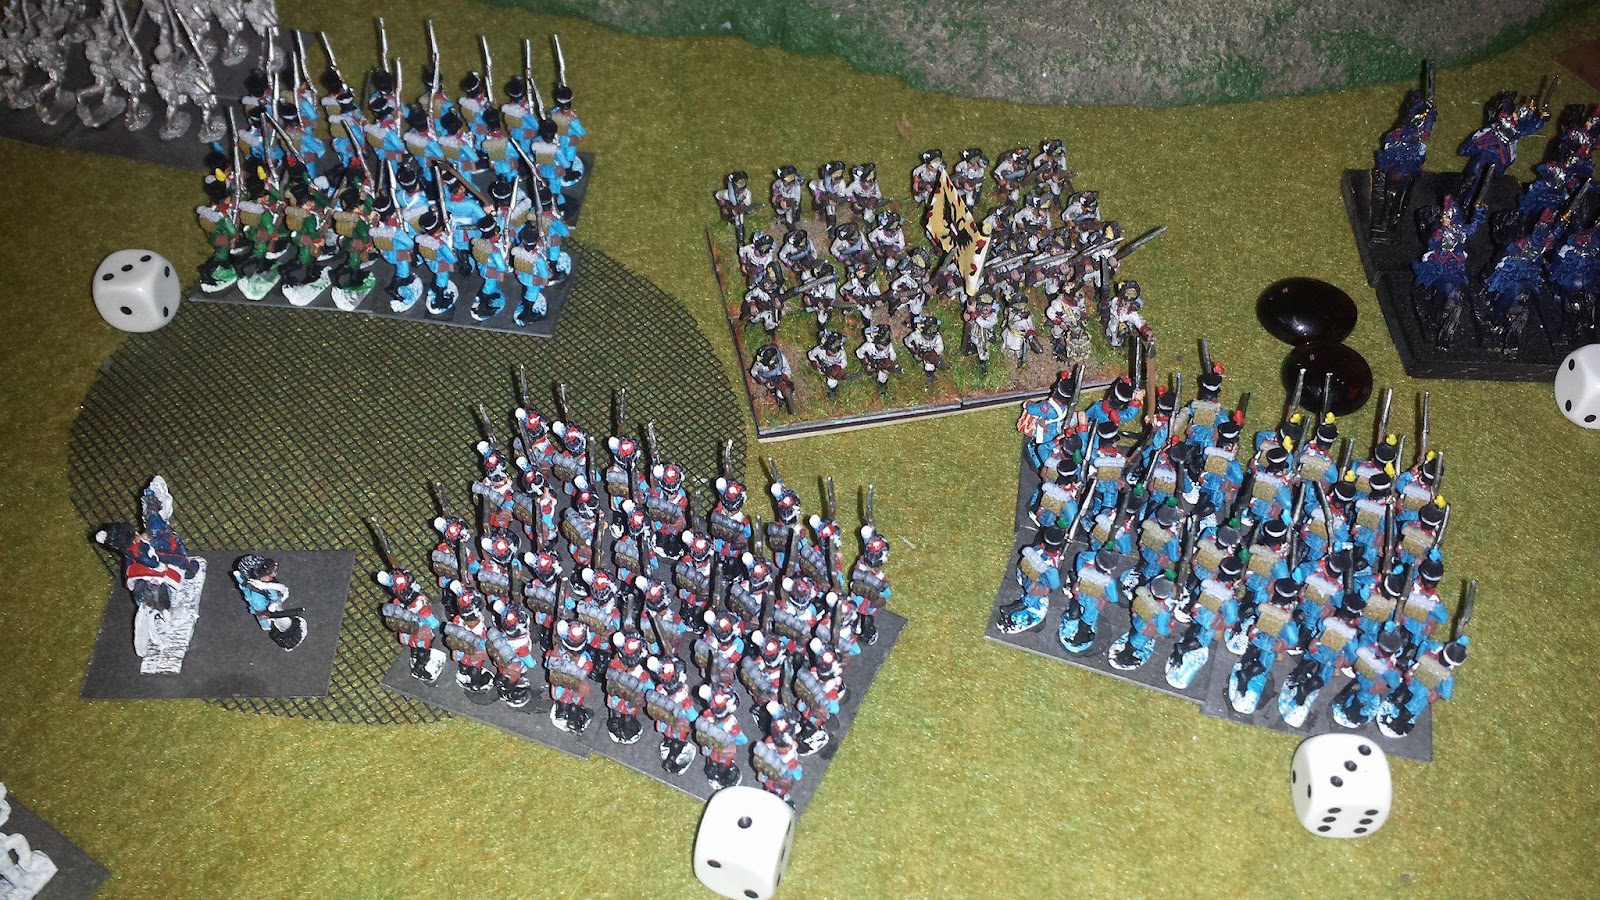
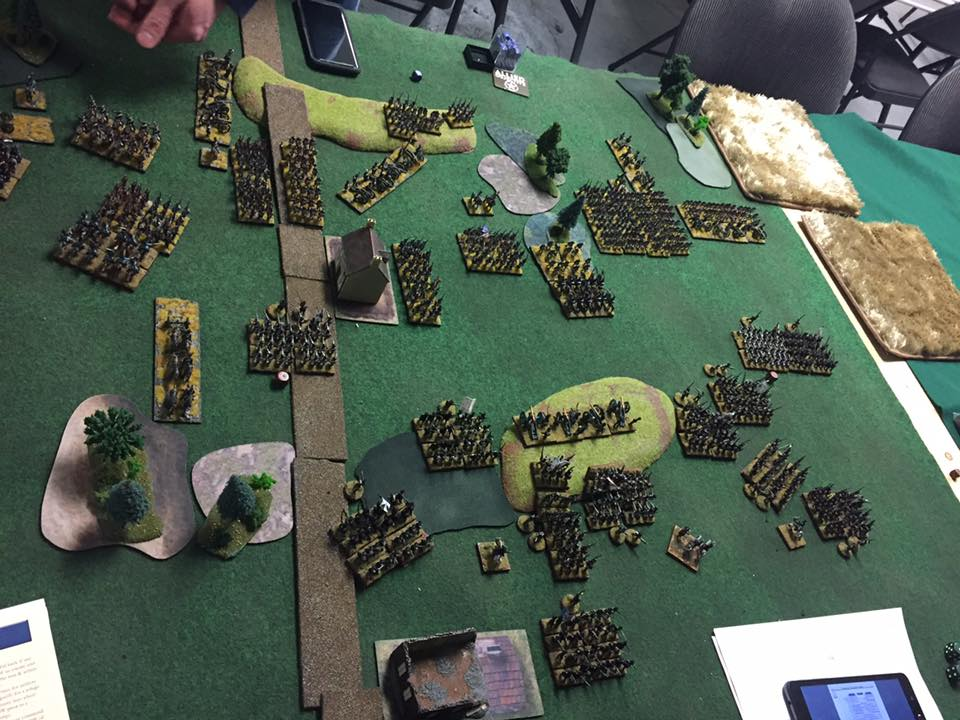
Round 3
- Desperate Coalition Counterattack from Rodgen: Italian Infantry, French Infantry, and French Guard defending vs Russian Guard, Prussian Guard, Austrian Reserve = Draw
The Russian guard formed the main attack on the Imperial center. Breaking through the french line, but were unable to punch through the Italian reinforcements before the Prussians routed and the Austrian contingent was spent. Despite driving a wedge in the Imperial line, the coalition could not secure a decisive result and both sides were forced to retire.

Prussian Advance on Italian Lines

French young guard prepare to receive Austrian grenadiers


Pavlosk Grenadier Guards and Finland Lifeguard Jaegers crash through the french center, enduring a hail of grapeshot and counter attacks by French cavalry of the guard.


The timely arrival of the French old guard halts the Austrian flank attack on the Imperial center
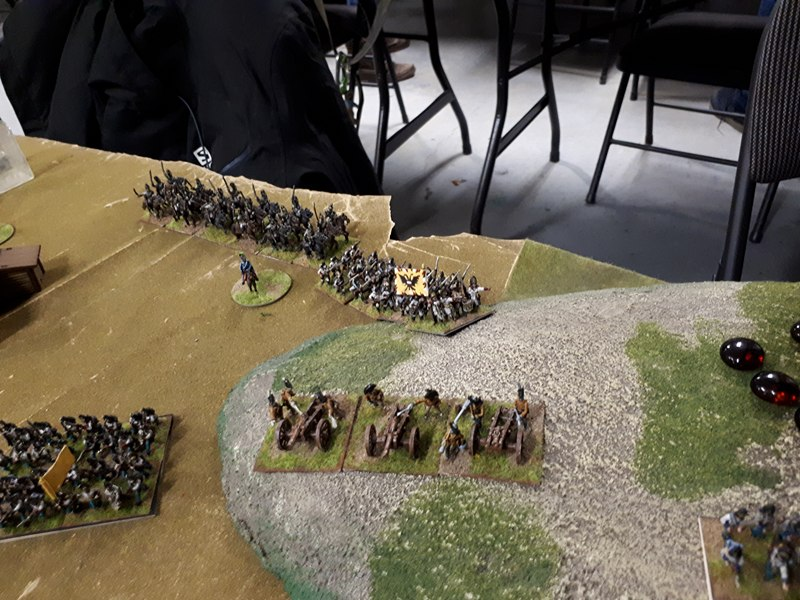
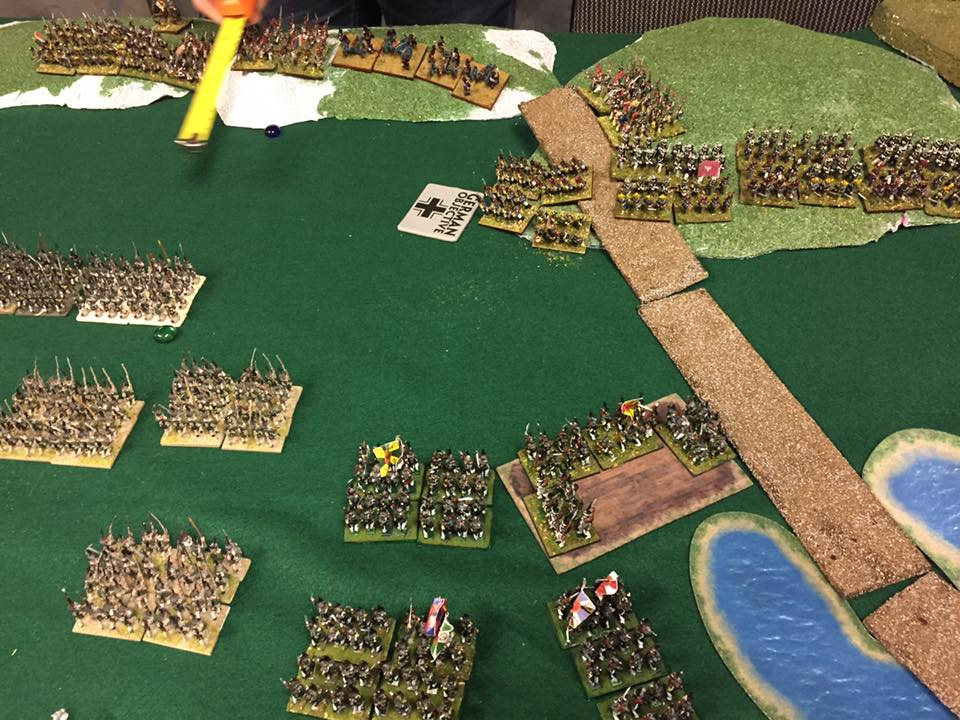
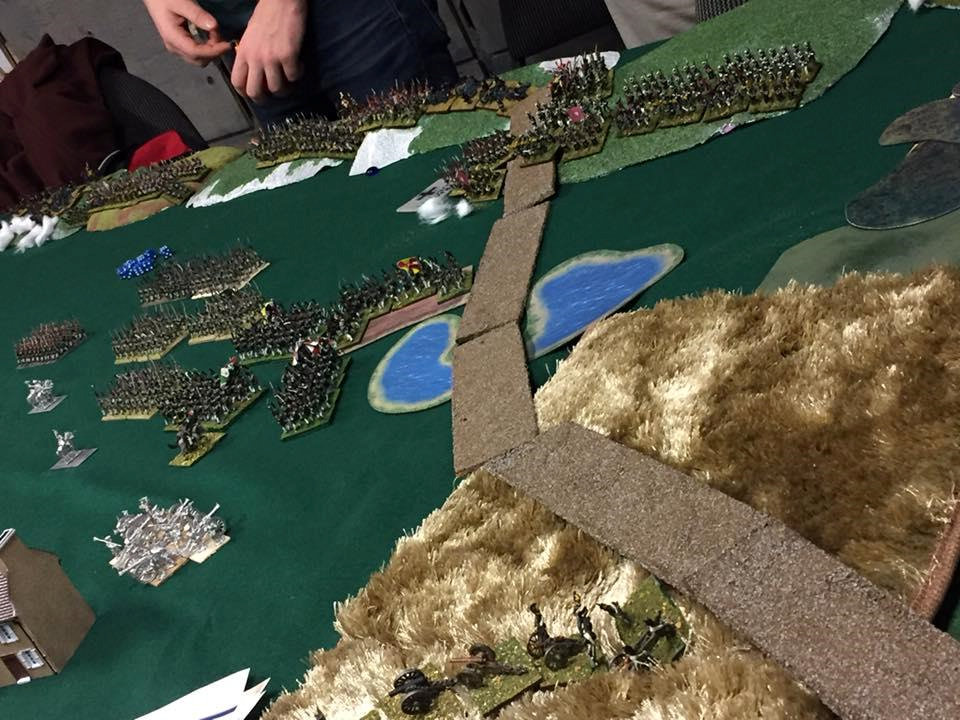
- Cut off Coalition Reserve Attacking Crobern : Bavarian Infantry and French Infantry defending vs Prussian Infantry and British Guard
= Major Imperial Victory
British and Prussians tried to take heavily defended bridges. French artillery demolished the Prussians but the British made better progress. night fell before a conclusive victory.
A lack of coordination between the infantry and cavalry of the coalition led to piecemeal assaults. The cavalry rushed ahead and were cut down by grapeshot, allowing ample time for the French gunners to reload and prepare for the oncoming infantry.
Bavarian Artillery and Infantry Setup guarding the bridges
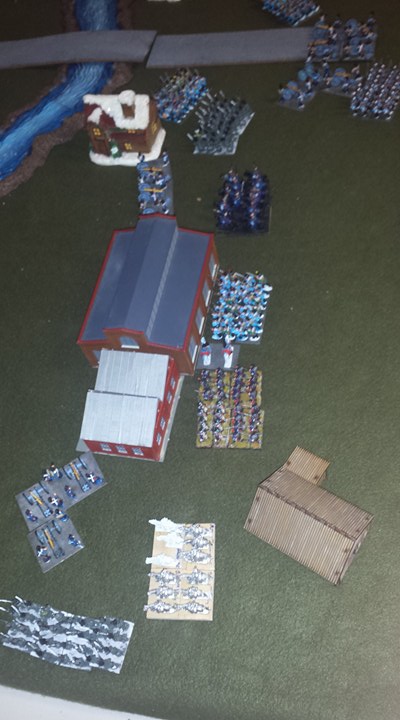
Bavarian Infantry Moving into the Village

Prussian Infantry advancing into Bavarian Canister Shot
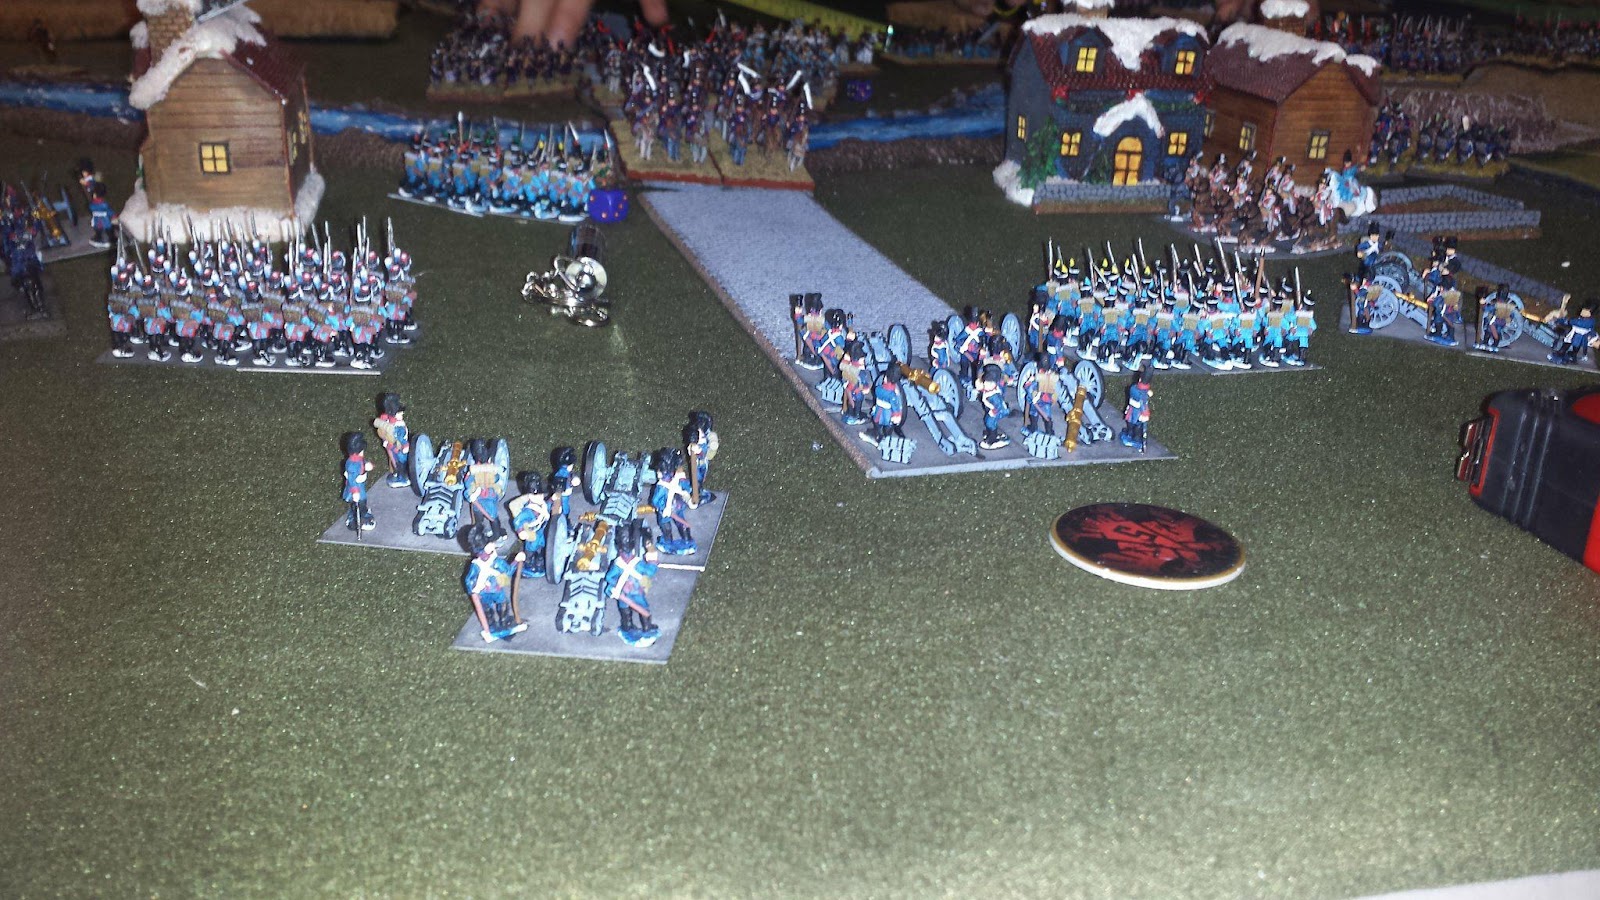
Prussian Cavalry Advancing Across the Bridge into the Bavarian Cannon
Prussian Columns Advancing towards the bridges
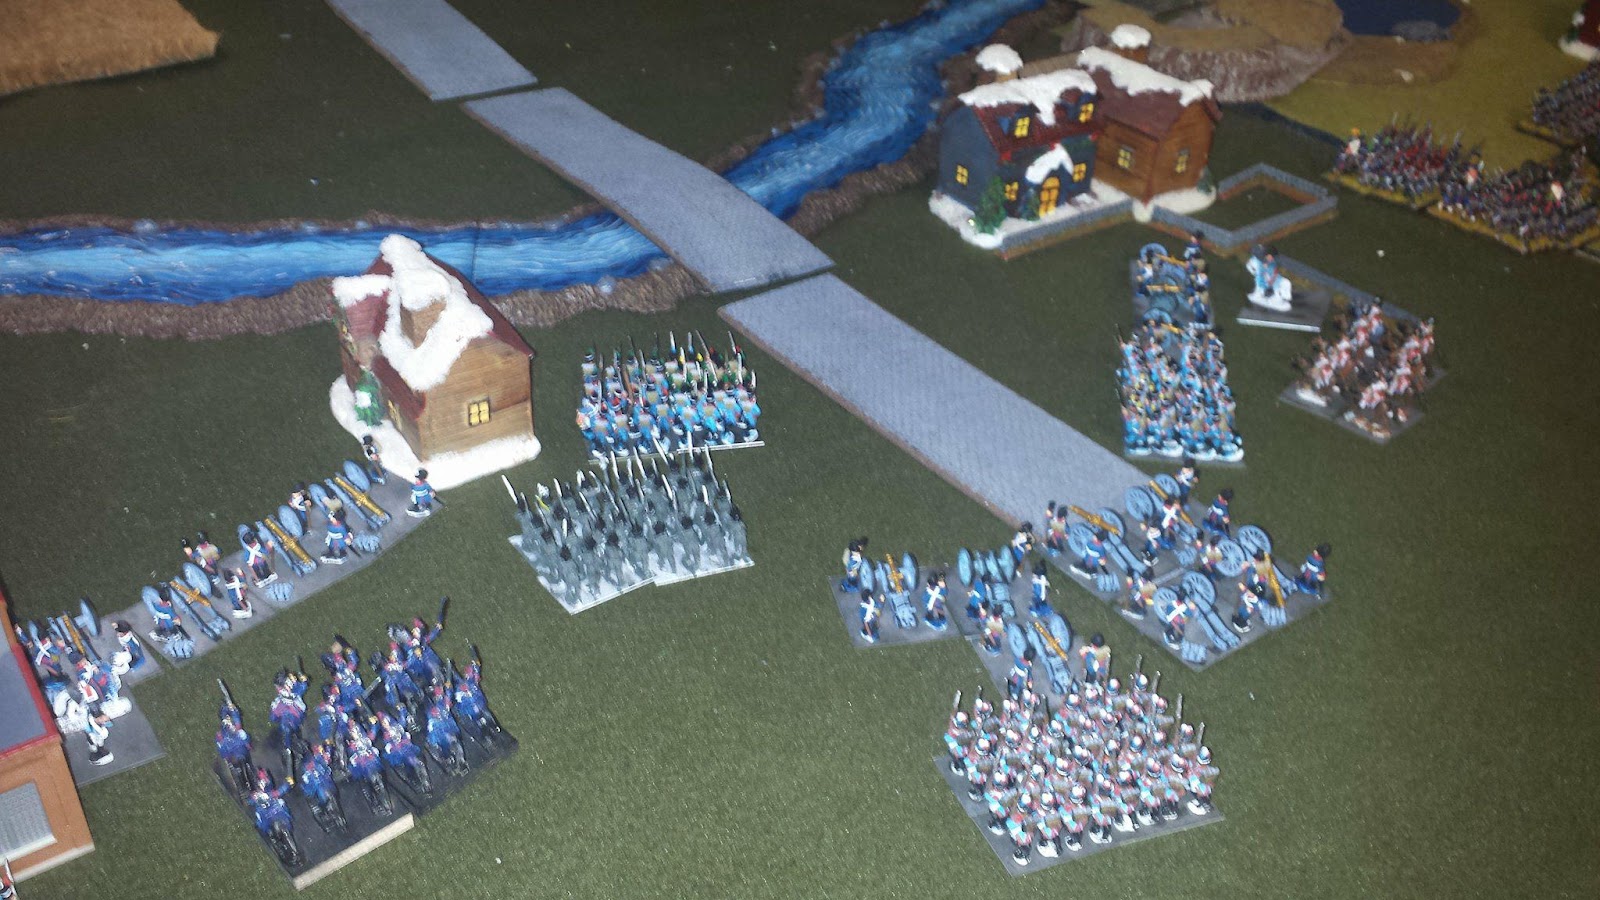
Bavarians Awaiting the Prussian Onslaught

The congested bridges formed the coalition troops into perfect targets for the experienced french gunners.
French Infantry , being set up on the other side of the table , to fight the British
Round 3 ended with 1 draw and 1 Major Imperial Victory. With the last round over Napoleon’s victory was complete with the exception of the Tsar having escaped, though his army was still short for men.
With the German command completely shattered and at Napoleon’s mercy, he was soon able to force them to capitulate. The Tsar’s army, too battered and isolated to offer resistance, was able to escape back to Russia.
Though the coalition was now exhausted and Napoleon's mystique still untarnished, the situation in France had only slightly improved. His Bavarian and Italian allies had emerged with few casualties, and would soon receive greater independence and lands from the conquered German states. These middle powers would form a buffer from the vengeful coalition while Napoleon rebuilt France. But would peace ever last with a man such as Napoleon ruling Europe? Only time would tell.
Parting Comments:
This was a fairly novel event, played by about 15 players who were relatively inexperienced. Still it was surprising to see the Imperial side perform so well, as it was generally perceived that the french liberation list was on the weaker side. I would posit that where both players were inexperienced, the substantial gunnery advantage of the French lists might pose a particular advantage. The Russians performing so well, the only list that can match the french artillery, supports this point. The top scoring lists for the Imperials were the Italians (French Peninsula), Bavarians (French Liberation), and the Russian Guard and Prussian Guard for the coalition.
This was a fairly novel event, played by about 15 players who were relatively inexperienced. Still it was surprising to see the Imperial side perform so well, as it was generally perceived that the french liberation list was on the weaker side. I would posit that where both players were inexperienced, the substantial gunnery advantage of the French lists might pose a particular advantage. The Russians performing so well, the only list that can match the french artillery, supports this point. The top scoring lists for the Imperials were the Italians (French Peninsula), Bavarians (French Liberation), and the Russian Guard and Prussian Guard for the coalition.
Though the event was enjoyed by all and has revitalized interest in Napoleonic gaming, general feedback was that Lasalle was not a very well suited system for multiplayer games. This was not too surprising but it also helped the newer players in the first round considering the way objectives and army morale work in Lasalle. It’s possible some amount of this scenario generation and persistent scoring system could be preserved but the event should ideally be limited to a series of 1v1 games.
Big thank you to Sword and Board, all the players who participated, and particularly "TV" for his help with this post and running the event.
Great looking event. Do you use Lasalke as written or do you have house rules ?
ReplyDeleteWe used them as is but omitted some of the optional/army builder rules. We didn't use the entrenchments or engineering rules and had to tweak some of the rules around army morale for the team games. Most notably for the big 3v3 we decided it would take 2 of the formations breaking to end the game but generally decided the results of games from a narrative standpoint rather than strict rules.
Delete